
Quickstart
Published Apr 2, 2026
From upload to export in under five minutes.
1. Upload Your Video
Drag your video onto the upload area or click to browse. Choose your aspect ratio — 9:16 for vertical short-form, 16:9 for landscape, or 1:1 for square — then give your project a title and hit Upload.
2. Wait for Transcription
Once your video is uploaded, our AI (WhisperX) transcribes every word with millisecond-accurate timestamps. This usually takes around 30 seconds. Grab a coffee — it'll be ready by the time you're back.
3. Style Your Captions
Open the Captions tab in the editor and pick a preset style. Here's what the Puffy preset looks like:
Puffy
Puff · word
You can tweak font, color, size, and display mode — or create something from scratch. Full captions guide
4. Add a Hook
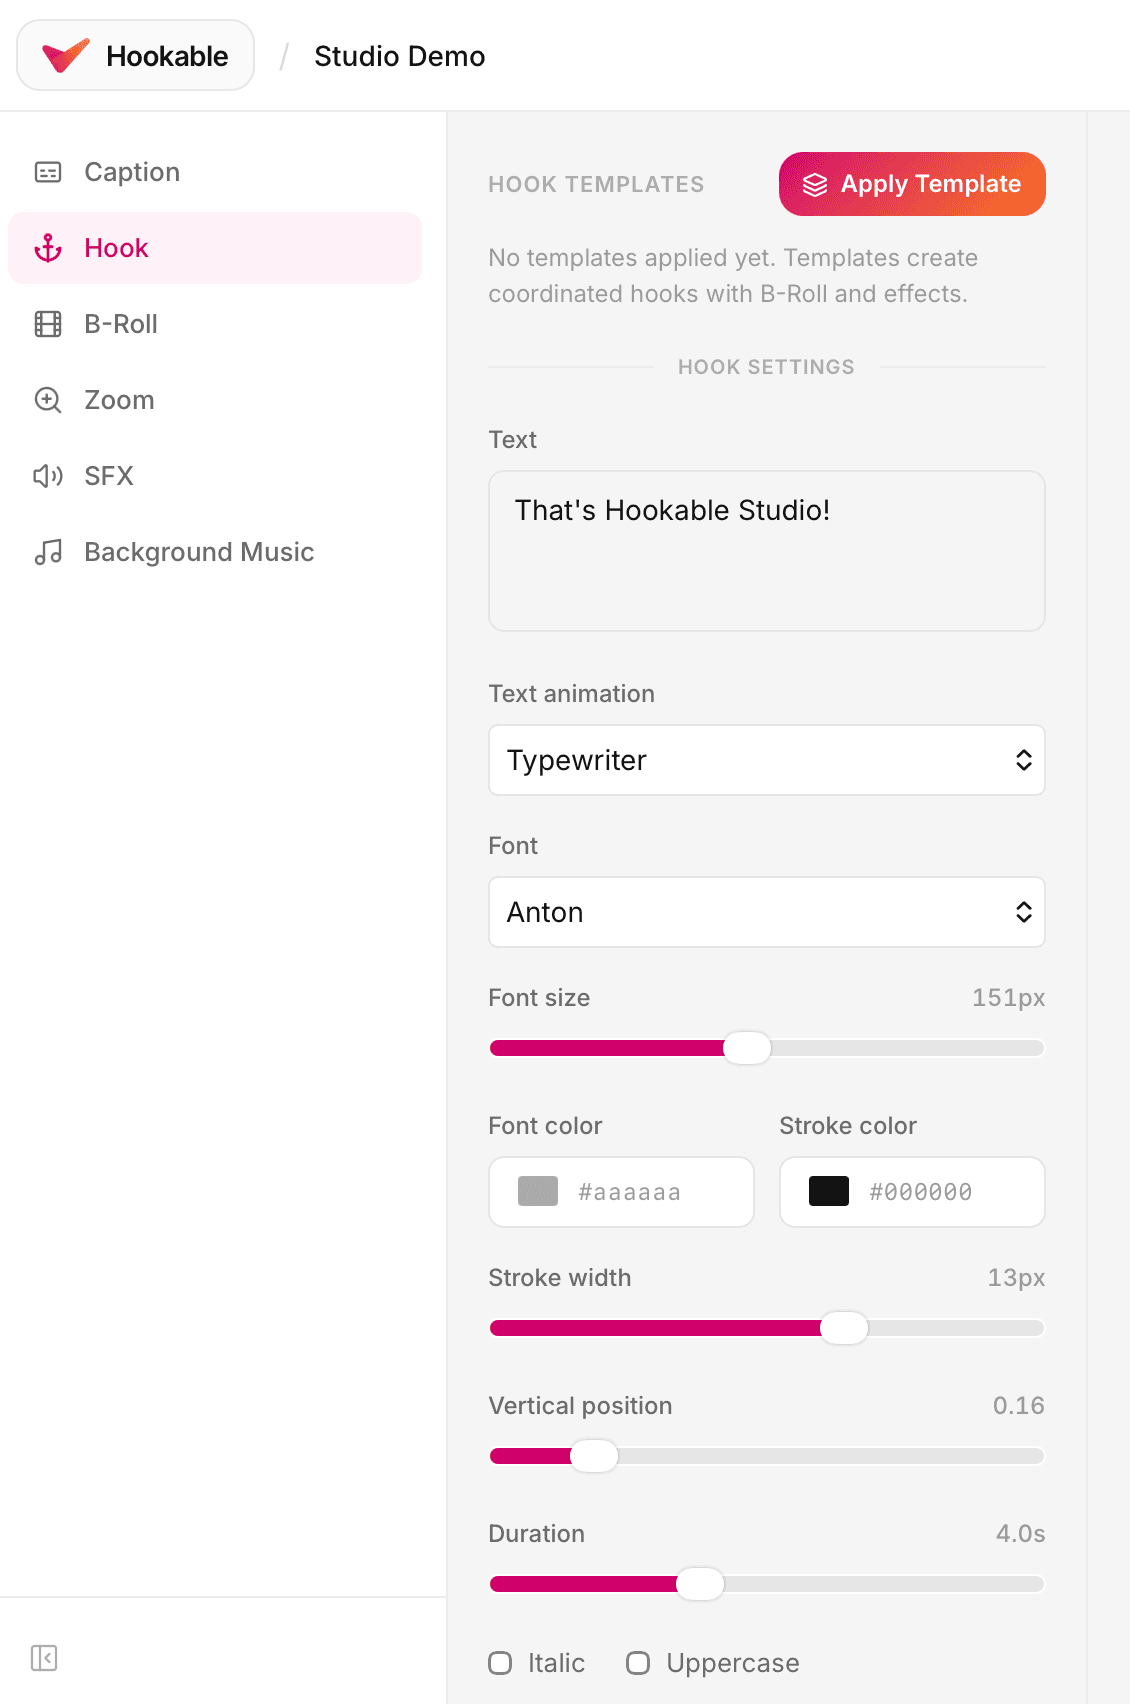
Hooks are text overlays that grab attention in the first couple of seconds. You can write your own or use a pre-built Hook Template — one click sets up a full intro sequence with B-Roll, text, and sound.
5. Export & Download
Hit Export when you're happy. You can render in the cloud (Full HD, ~1–2 min) or right in your browser for instant results. Download your video and post it. Export guide
Caption Generator vs Studio
Caption Generator is a simplified captions-only workflow — perfect if you just need styled subtitles fast. Studio is the full-featured editor with hooks, B-Roll, camera effects, sound effects, background music (upload your own), and everything else. Both products share the same caption engine.